Sometimes it happens that source files are delivered via email. In that case you could extract these files with for example a Script Task in SQL Server Integration Services (SSIS) or a PowerShell Script, but this requires some serious programming in C#, VB.net or PowerShell . Are there other and easier ways to get email attachments without programming skills?
 |
| Azure Logic Apps - Codeless and serverless |
Solution
As we slowly move from on-premises Data Warehouses (DWH) to Azure, we could use other Azure parts to solve this: Azure Logic Apps. With this, you can build automatic workflows without writing code in C# or other programming languages. For example, extract social media data like Twitter tweets or using it for Azure Data Factory V2 notifications. For a lot of BI specialist writing code can be a threshold, so this service offers a way out. We will store these email attachments in Blob Storage. After that, you can load these files into your DWH using SSIS for example.
Starting point of this post is an existing storage account and blob container.
1) Create new Logic App
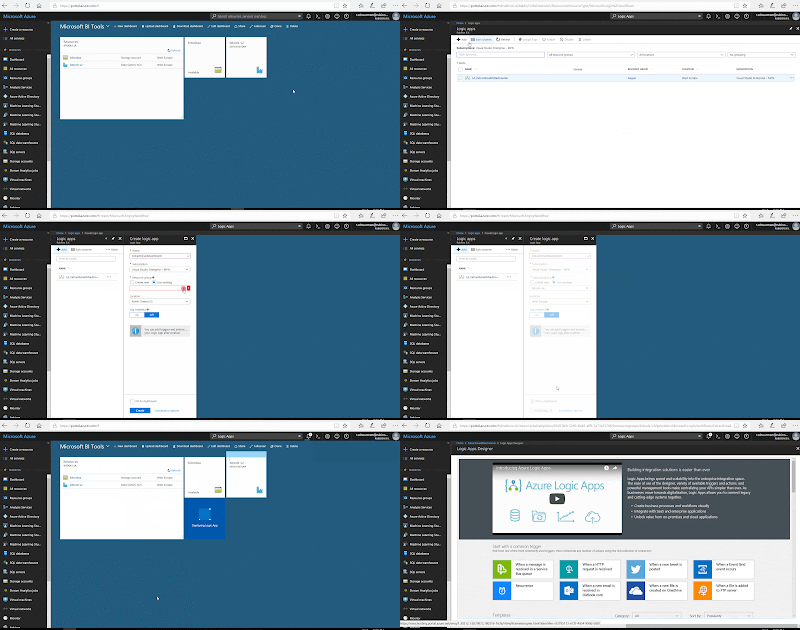
Go to your Azure portal and type in "Logic Apps" in the search bar Search resources, services and docs. Locate Logic App under Services and click on Add. Give it a suitable name like "ExtractEmailAttachments" and then choose the Subscription, Resource Group and Location. For the Resource Group and this Logic app we use West Europe since we are from the Netherlands.
 |
| Azure Portal - Create Logic App |
2) Add trigger
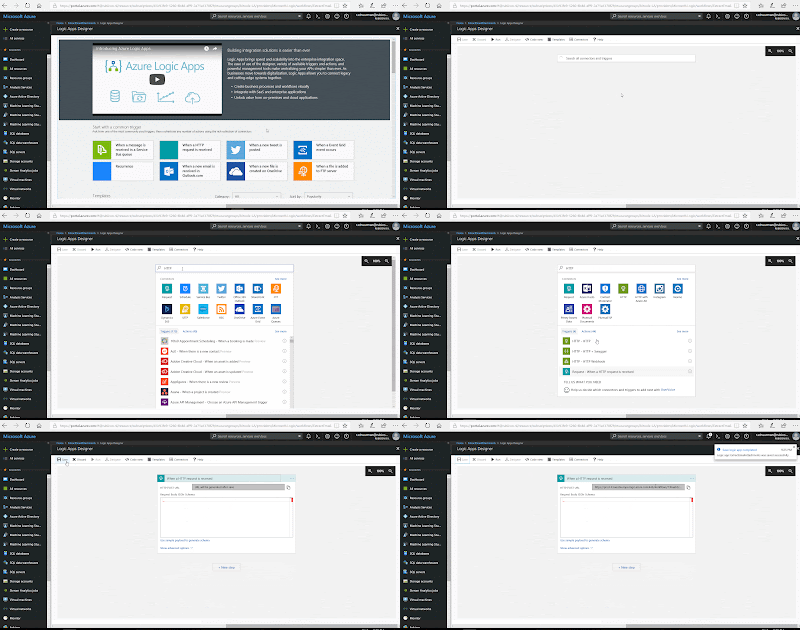
When editing the Logic App, we first need to pick a trigger. It is the event that starts this Logic App. In this case, using Azure Data Factory, we pick the HTTP trigger When a HTTP request is received.
 |
| Logic Apps Designer - Add HTTP trigger |
NOTE:
When you open the Logic App for the first time, you can choose several (common) triggers. You can also choose existing Logic Apps templates for known applications or purposes to use it as an example or starting point.
3) Get emails
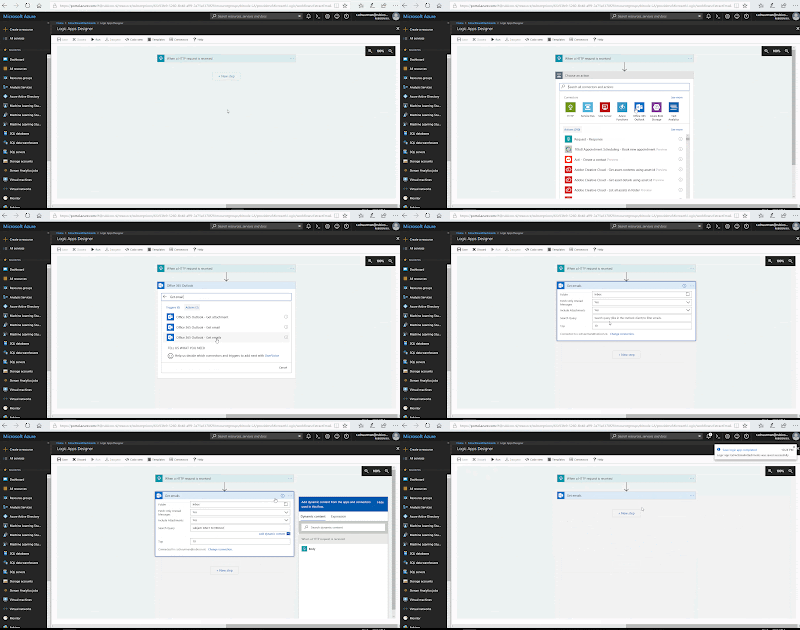
Next step is to retrieve the emails. Click on New step and Add an action. Choose the Connector "Office 365 Outlook", search for "Get email" and select Office 365 Outlook - Get emails. The first time that you use this action, you need to login with your Office 365 account. Now you setup this action by choosing the Outlook folder, select only unread messages including the attachments and what subject the email contains (like in the Outlook client). Click on Save in the upper left corner when you are finished.
 |
| Logic Apps Designer - Add action Get Emails |
4) Filter emails
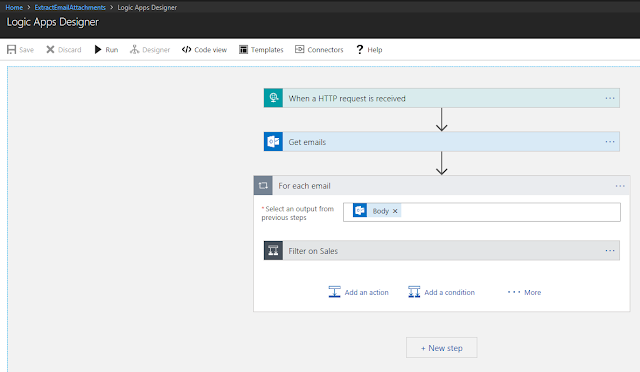
In this scenario we are receiving various source files per email each day, but we first want to retrieve attachments from emails with a specific subject and store those in a separate blob storage container. For other email subjects we can add more conditions and save all those files in there own blob storage containers. That's why we are looping through the inbox (or another Outlook folder) and filter per subject. Add a new step and choose Add a condition to filter on a specific source file. Now automatically the for each will appear, because we are receiving multiple emails in the previous step. Give the condition a suitable name, because you have to add more conditions to separate the different source files (we only show one condition in this post).
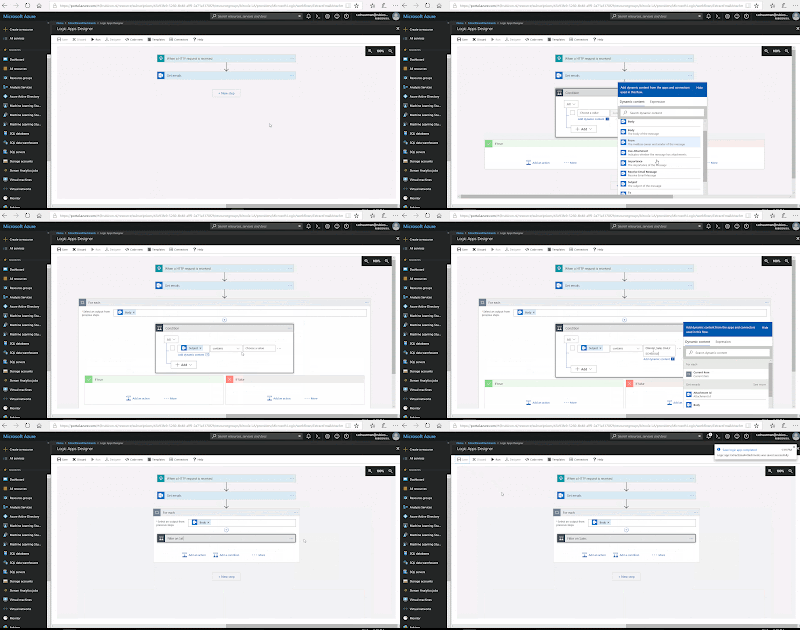 |
| Logic Apps Designer - Add condition |
5) Store data in blobs
Now that we have filtered the emails per subject, we must store the attachment (which contains the data) itself. Add an action on the 'if true' side and choose "Azure Blob Storage". Inside this category, choose Azure Blob Storage - Create blob. The first time that you use this action, you need to create a connection. Choose the storage account and give the connection a suitable name. Now you can setup this action by defining the Folder path, Blob name and Blob content. As said earlier, we are retrieving new source files every day. That's why the blob name will contain the day of load. This is the expression:
concat('DWH01_Sales_',
formatDatetime(utcNow(),'yyyy'), '-', formatDatetime(utcNow(),'MM'), '-',
formatDatetime(utcNow(),'dd'),'.csv')
 |
| Logic Apps Designer - Create blob |
NOTE:
There is no separate action to create a new folder in the Blob Storage container, but it will be created automatically when you save the first file in the container.
6) Send email when succeeded
Every time the data is stored into a new blob, we will confirm this by sending an email. In this case, we will send the email to the same account as step 2 (Get Emails). You can of course send it to developers or administrators in your organization as well. In that case you must create a new connection by clicking change connection, because now this action will automatically use the same Office 365 connection as before. Insert a new step and select "Office 365 Outlook" and choose the action Office 365 Outlook - Send an email. We create the following Body:
Dear User,
The run of DWH01_Sales has completed successfully for March 31, 2018.
Kind regards,
Azure Logic Apps
Therefore we need to use the following expression:
Dear User,
The run of DWH01_Sales has completed successfully for March 31, 2018.
Kind regards,
Azure Logic Apps
Therefore we need to use the following expression:
concat('The run of DWH01_Sales has completed successfully for '
, formatDatetime(utcNow(),'MMMMM'), ' ', formatDatetime(utcNow(),'dd'), ', '
, formatDatetime(utcNow(),'yyyy'), '.')
Fill in the Subject and select "To" to send the email To the account used in the Office 365 connection.
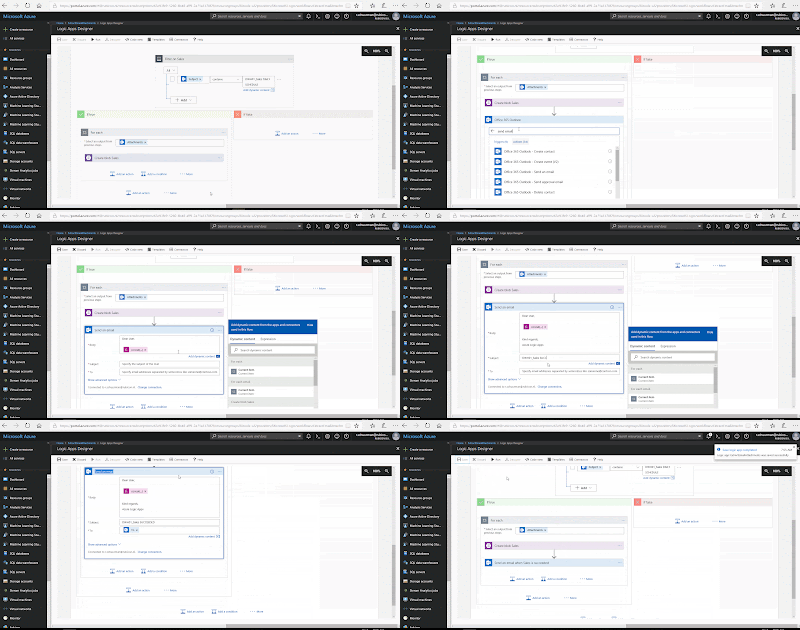 |
| Logic Apps Designer - Send email |
7) Mark email as read
After we have sent the succeed email, we want to mark the processed emails (Daily Schedule) as read. Insert a new step and select "Office 365 Outlook" and choose the action Office 365 Outlook - Mark as read. Click on Message Id and choose "Message Id", based on step 2 (Get Emails). You have to click on "See more" to make it appear in the list.
 |
| Logic Apps Designer - Mark as read |
8) Move email to archive
Finally, we will move the emails to an archive folder. We created separate mail folders in Outlook for each subject/source file. Insert a new step and select "Office 365 Outlook" and choose the action Office 365 Outlook - Send an email. Choose the Message Id and select the specific sub Folder in archive.
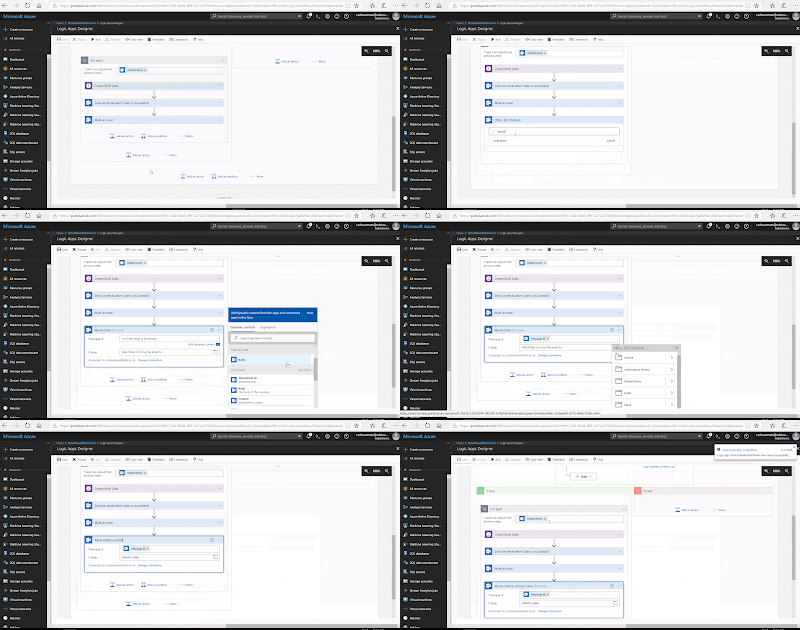 |
| Logic Apps Designer - Move email |
Result
Now let's see if it all works. Make sure you have sent the email "DWH01_Sales DAILY SCHEDULE" and it is unread. Click in the Logic Apps Designer on Run. Now wait for the succeeded email...it works!
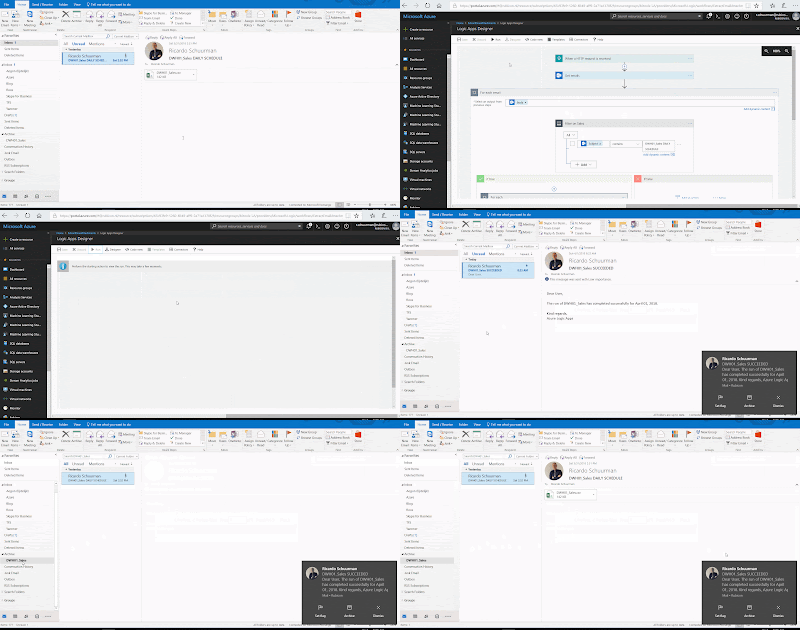 |
| Result - Received succeeded email |
The source file is also stored into a new blob. See below the result in Azure Storage Explorer.
 |
| Result - File stored as new blob |
Summary
In this post we showed you how to build a Logic App to ingest email attachments as source files. All without programming skills and easily to maintain easily as part from an ETL process.
Click here to see how to execute this Logic App with Azure Data Factory V2 as part of an DWH solution in Azure.
This is why we started the Logic App with an HTTP trigger that can be called from other applications. If you do not want to integrate the Logic App and use it as a separate solution, then you should start with a different trigger. For example a Recurrence trigger or When a new email arrives.